15 Budget-Friendly Lunchbox Meal Prep Ideas for the Whole Week
Meal prepping on a budget doesn’t have to be stressful or time-consuming. With our easy and affordable lunchbox meal prep ideas, you’ll whip up delicious meals for the whole week in no time. Get ready to save money and enjoy tasty lunches that you’ll love eating every day!
Egg Muffins with Spinach and Cheese
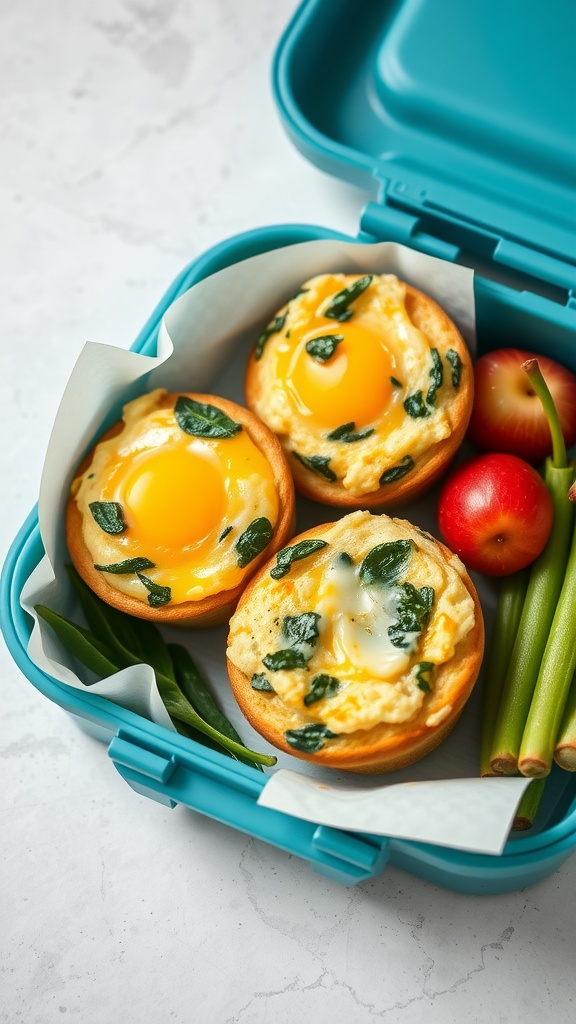
Egg muffins are a fantastic option for meal prep. They’re easy to make, delicious, and packed with nutrients. In the image, you can see a tray filled with fluffy egg muffins, each one bursting with vibrant green spinach and melted cheese. These little bites are perfect for a quick breakfast or a snack throughout the week.
To make these egg muffins, you’ll need just a few simple ingredients. The combination of eggs, spinach, and cheese creates a satisfying flavor that everyone will love. Plus, they’re very customizable! You can add in your favorite veggies or even some cooked meats if you like.
These muffins store well in the fridge and can be reheated in just a minute or two. They’re a great way to stay on track with healthy eating without sacrificing taste. Let’s get into the recipe!
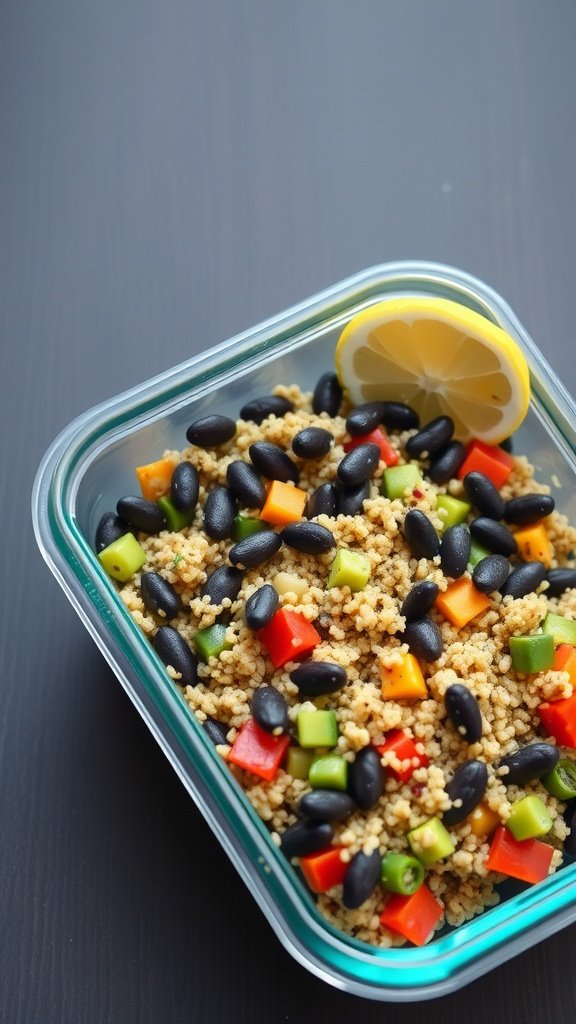
Savory Quinoa and Black Bean Bowls
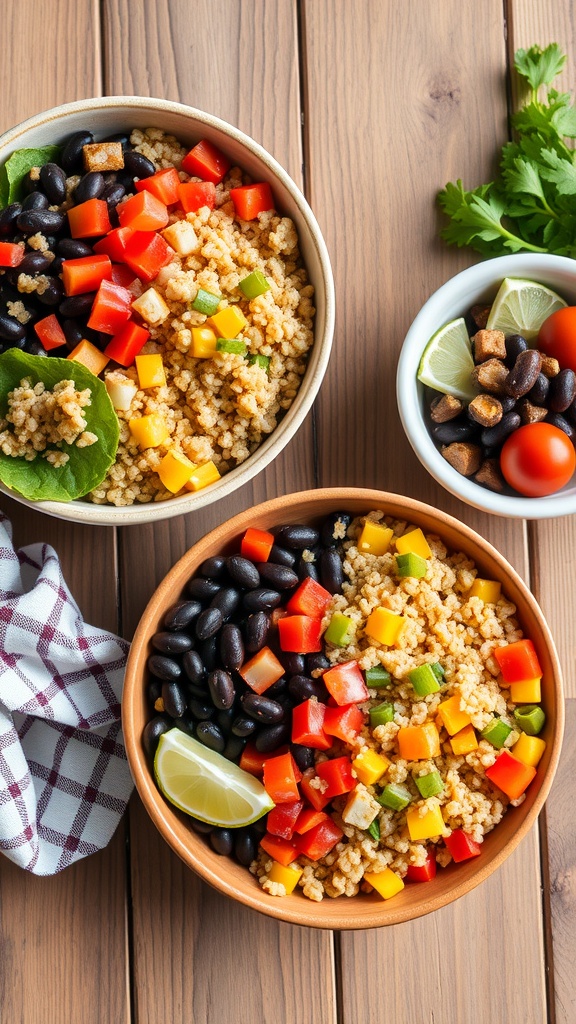
Quinoa and black bean bowls are a fantastic option for meal prep. They are colorful, nutritious, and super easy to make. The image shows vibrant bowls filled with fluffy quinoa, black beans, and a mix of fresh bell peppers. This dish is not only visually appealing but also packed with protein and fiber, making it a great choice for a budget-friendly lunch.
To prepare these bowls, you can start by cooking your quinoa according to package instructions. While that’s cooking, rinse your black beans and chop up some bell peppers in various colors for a pop of freshness. You can also add a squeeze of lime for a zesty kick. These bowls are perfect for meal prep, as they store well in the fridge and can be enjoyed throughout the week.
Feel free to customize your bowls with other toppings like avocado, salsa, or even a dollop of Greek yogurt. This recipe is versatile and can be adjusted to suit your taste. Let’s get into the details of how to make these delicious quinoa and black bean bowls!
Pasta Salad with Pesto and Veggies
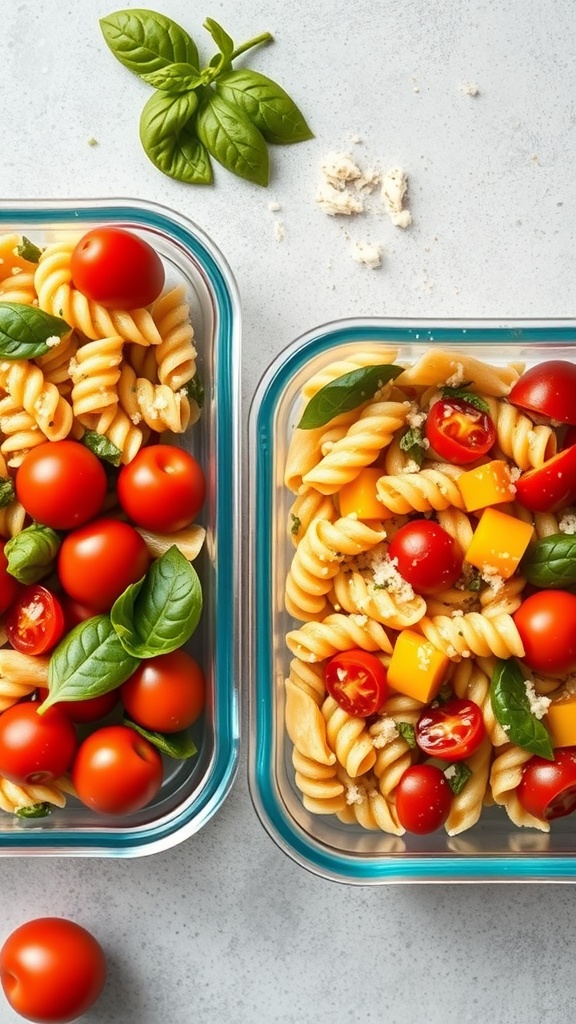
This pasta salad is a perfect meal prep option for the week. It’s colorful, fresh, and packed with flavor. The image shows two containers filled with a delightful mix of rotini pasta, cherry tomatoes, and vibrant basil leaves. One container has the pasta salad mixed with pesto and diced bell peppers, while the other has fresh cherry tomatoes and basil, ready to be added later for an extra burst of freshness.
Making this dish is simple and quick. You can enjoy it cold or at room temperature, making it a versatile choice for lunch or dinner. Plus, it’s budget-friendly, using ingredients that are easy to find and often on sale.
Let’s get to the recipe so you can whip this up for your week ahead!
Vegetable Fried Rice
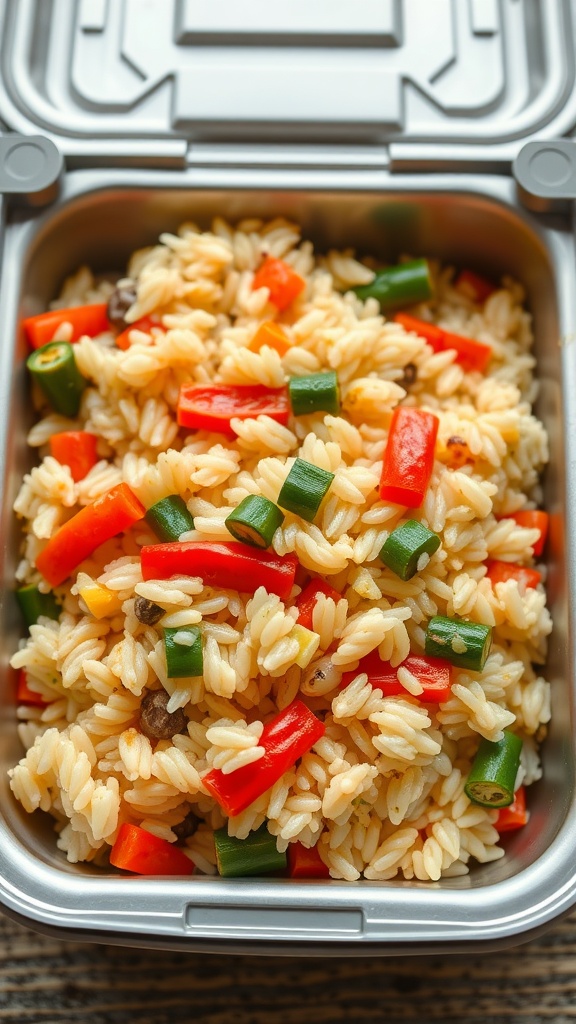
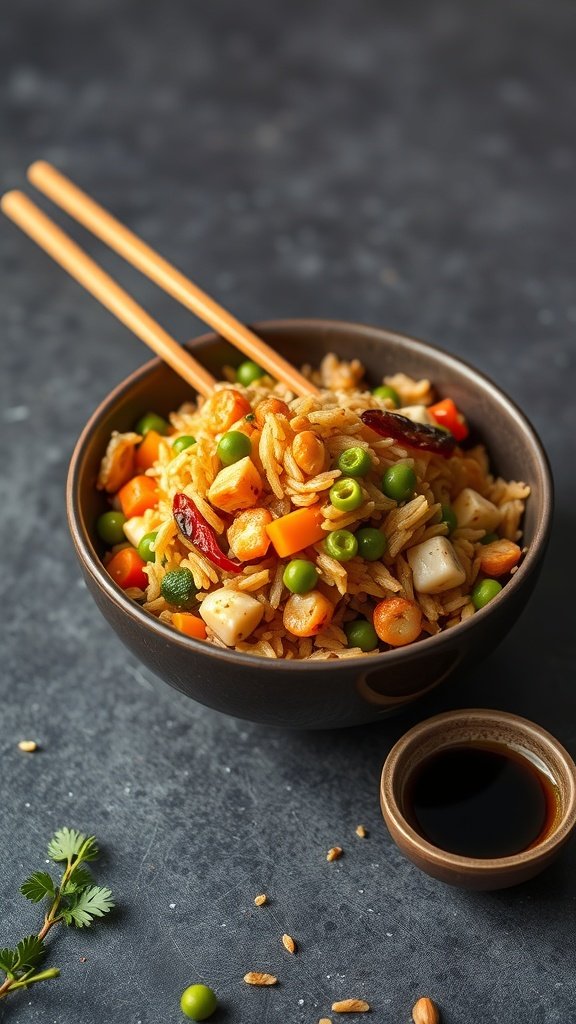
Vegetable fried rice is a fantastic option for a budget lunchbox meal prep. It’s colorful, tasty, and packed with nutrients. The image shows a bowl filled with fluffy rice mixed with vibrant vegetables like peas, carrots, and bell peppers. The dish is garnished with a sprinkle of herbs, making it look inviting and fresh.
This meal is not only budget-friendly but also quick to prepare. You can use leftover rice, which saves time and reduces waste. The combination of veggies adds a nice crunch, while soy sauce gives it that savory flavor we all love.
Let’s get to the recipe so you can whip this up for your week ahead!
Ingredients
- 2 cups cooked rice (preferably day-old)
- 1 cup mixed vegetables (peas, carrots, bell peppers)
- 2 tablespoons soy sauce
- 1 tablespoon vegetable oil
- 2 green onions, chopped
- 1 teaspoon garlic, minced
- Salt and pepper to taste
- Optional: sesame seeds for garnish
Instructions
- Heat the oil in a large skillet over medium heat.
- Add the minced garlic and sauté for about 30 seconds until fragrant.
- Stir in the mixed vegetables and cook for 3-4 minutes until tender.
- Add the cooked rice, breaking up any clumps, and mix well with the veggies.
- Pour in the soy sauce and stir until everything is evenly coated.
- Season with salt and pepper to taste. Cook for another 2-3 minutes, stirring occasionally.
- Finally, add the chopped green onions and mix well. Serve hot or let it cool before packing into lunchboxes.
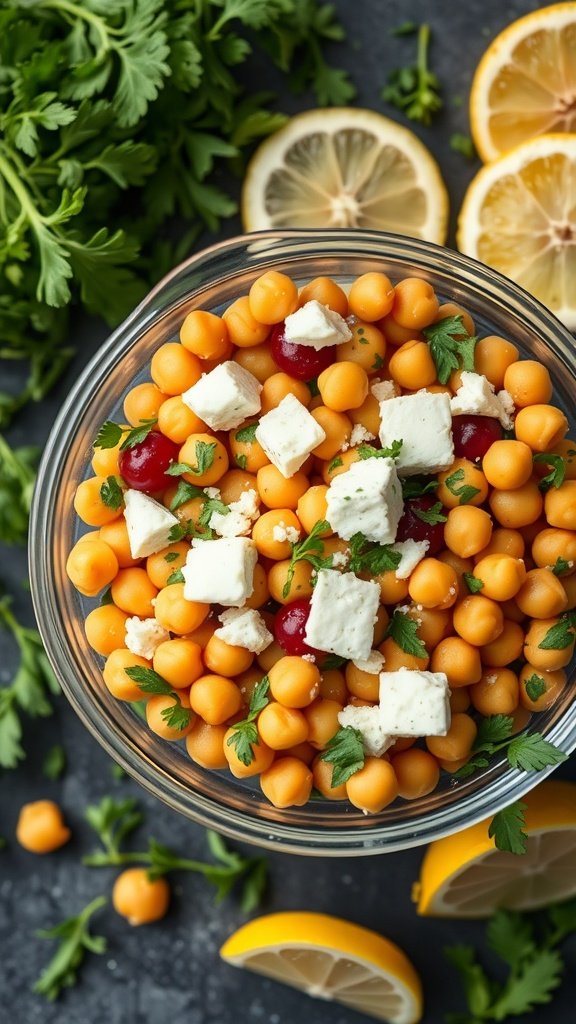
Mediterranean Chickpea Salad
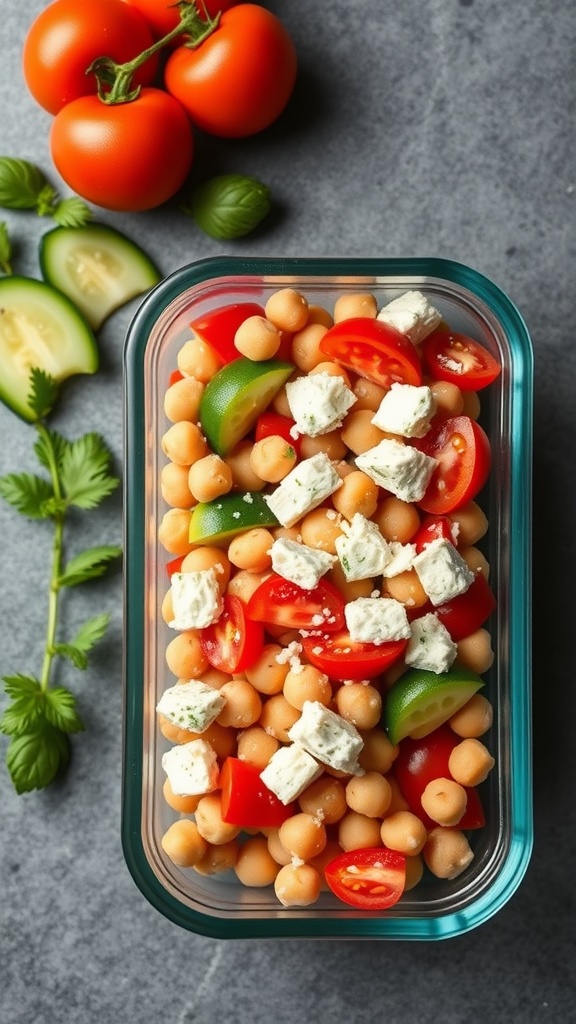
This Mediterranean Chickpea Salad is a colorful and nutritious option for your budget lunchbox meal prep. Packed with fresh veggies and protein-rich chickpeas, it’s a delightful mix that keeps well throughout the week. The vibrant colors of cherry tomatoes, green bell peppers, and creamy feta cheese make it visually appealing, while the flavors blend beautifully for a satisfying meal.
Chickpeas are not only affordable but also versatile. They add a hearty texture to the salad, making it filling without breaking the bank. This salad can be enjoyed on its own or paired with pita bread for a more substantial lunch. Plus, it’s easy to whip up in just a few minutes!
To make this salad, you’ll need some basic ingredients. The combination of fresh herbs like cilantro and basil adds a refreshing touch. This dish is perfect for meal prepping, as it stays fresh in the fridge for several days.
Ingredients
- 1 can (15 oz) chickpeas, drained and rinsed
- 1 cup cherry tomatoes, halved
- 1 green bell pepper, diced
- 1/2 cup feta cheese, crumbled
- 1/4 cup red onion, finely chopped
- 2 tablespoons olive oil
- 1 tablespoon lemon juice
- Salt and pepper to taste
- Fresh cilantro and basil for garnish
Instructions
- In a large bowl, combine the chickpeas, cherry tomatoes, green bell pepper, feta cheese, and red onion.
- In a small bowl, whisk together the olive oil, lemon juice, salt, and pepper.
- Pour the dressing over the salad and toss gently to combine.
- Garnish with fresh cilantro and basil.
- Store in an airtight container in the fridge for up to 5 days.
Turkey and Spinach Wraps
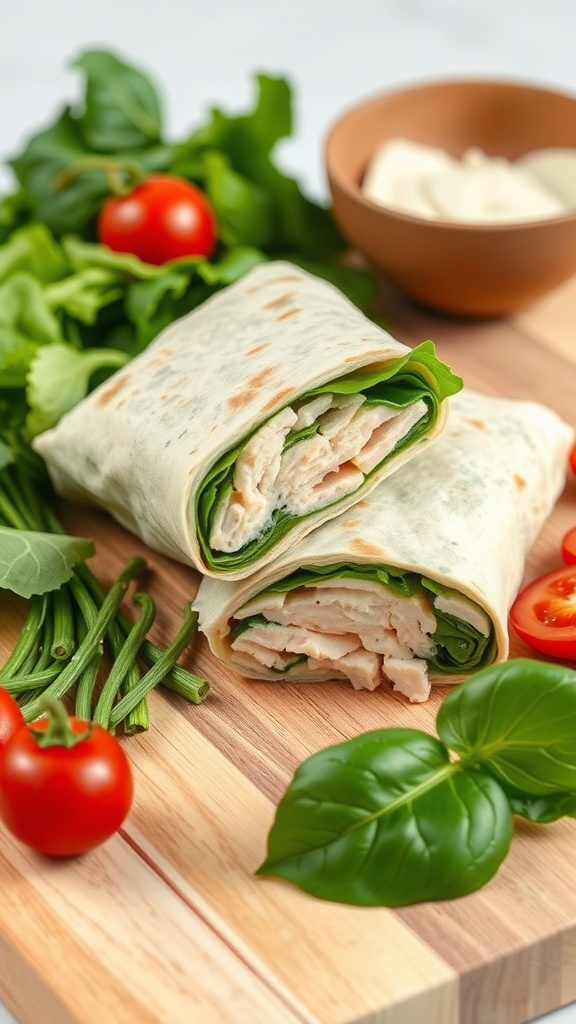
Turkey and spinach wraps are a fantastic choice for a budget-friendly lunch. They are easy to prepare and packed with nutrients. The image shows a delicious wrap filled with turkey slices and fresh spinach, making it a colorful and appealing option. The vibrant greens and juicy tomatoes on the side add a fresh touch.
These wraps are not only tasty but also versatile. You can customize them with your favorite ingredients. Whether you prefer adding cheese, hummus, or other veggies, the possibilities are endless. Plus, they are perfect for meal prep. Just make a batch at the beginning of the week, and you’ll have lunches ready to go!
Here’s how to make your own turkey and spinach wraps:
Ingredients
- 4 large tortillas
- 8 ounces sliced turkey breast
- 2 cups fresh spinach
- 1/2 cup cream cheese
- 1/2 cup sliced tomatoes
- Salt and pepper to taste
Instructions
- Spread cream cheese evenly over each tortilla.
- Layer turkey slices and fresh spinach on top of the cream cheese.
- Add sliced tomatoes and sprinkle with salt and pepper.
- Roll the tortilla tightly and slice it in half.
- Wrap in foil or store in an airtight container for meal prep.
Chicken and Veggie Stir-Fry
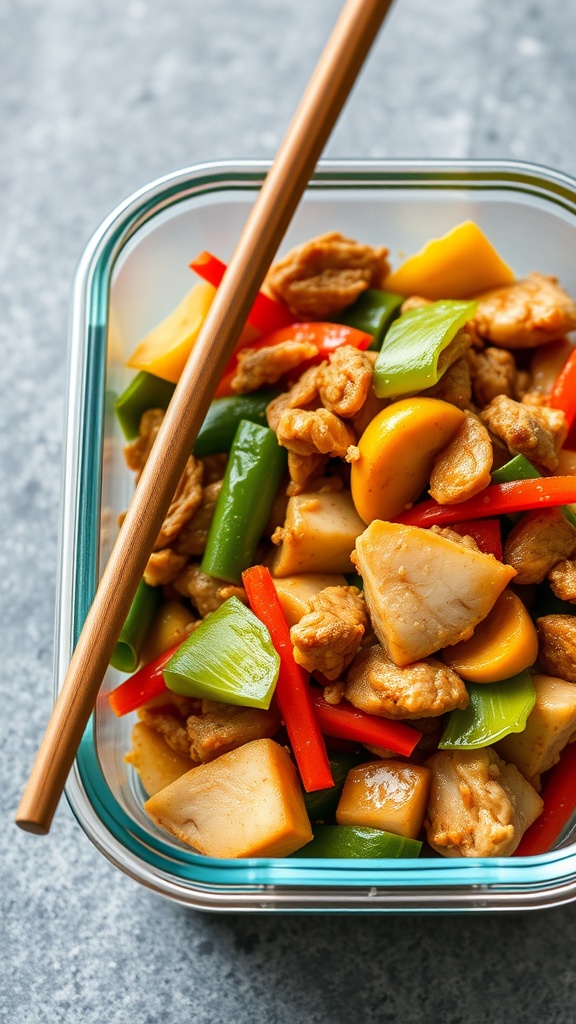
Chicken and veggie stir-fry is a fantastic choice for meal prep. It’s colorful, packed with nutrients, and super easy to make. The combination of tender chicken and fresh vegetables creates a delicious meal that you can enjoy throughout the week.
This dish is perfect for those busy days when you need something quick and satisfying. You can customize it with your favorite veggies, making it versatile and fun. Plus, it stores well in the fridge, so you can grab it on the go!
Let’s get into the recipe so you can whip this up in no time!
Ingredients
- 1 pound boneless, skinless chicken breast, cut into bite-sized pieces
- 2 cups mixed bell peppers (red, green, yellow), sliced
- 1 cup broccoli florets
- 1 cup snap peas
- 3 tablespoons soy sauce
- 2 tablespoons olive oil
- 1 tablespoon garlic, minced
- 1 tablespoon ginger, minced
- Salt and pepper to taste
Instructions
- Heat olive oil in a large skillet over medium-high heat. Add minced garlic and ginger, sautéing for about 30 seconds until fragrant.
- Add the chicken pieces to the skillet. Cook for 5-7 minutes, stirring occasionally, until the chicken is cooked through and golden brown.
- Stir in the bell peppers, broccoli, and snap peas. Cook for another 5 minutes until the veggies are tender but still crisp.
- Pour in the soy sauce, mixing well to coat all the ingredients. Season with salt and pepper to taste.
- Remove from heat and let it cool before portioning into meal prep containers.
Lentil Soup with Crusty Bread
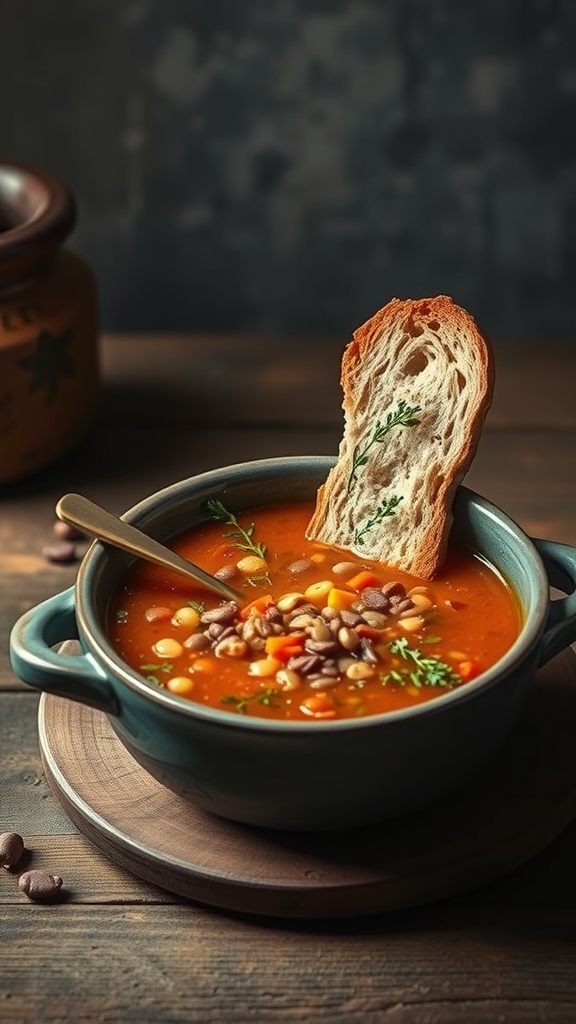
Lentil soup is a fantastic choice for a budget-friendly lunch. It’s hearty, filling, and packed with nutrients. The image shows a warm bowl of lentil soup, vibrant with colors from carrots and herbs. The crusty bread beside it is perfect for dipping, making every bite enjoyable.
This meal is not just easy on the wallet; it’s also simple to prepare. You can make a big batch and portion it out for the week. The flavors deepen as it sits, making it even tastier on day two or three!
Let’s get into how to make this delicious lentil soup that pairs perfectly with crusty bread.
Ingredients
- 1 cup dried lentils (any color)
- 1 medium onion, chopped
- 2 carrots, diced
- 2 celery stalks, diced
- 3 cloves garlic, minced
- 6 cups vegetable broth
- 1 can diced tomatoes (14.5 oz)
- 1 teaspoon dried thyme
- 1 teaspoon cumin
- Salt and pepper to taste
- Crusty bread for serving
Instructions
- Rinse the lentils under cold water and set aside.
- In a large pot, heat a splash of oil over medium heat. Add the chopped onion, carrots, and celery. Sauté for about 5 minutes until softened.
- Add the minced garlic and cook for another minute.
- Stir in the lentils, vegetable broth, diced tomatoes, thyme, and cumin. Bring to a boil.
- Reduce the heat and let it simmer for about 30-35 minutes, or until the lentils are tender.
- Season with salt and pepper to taste. Serve hot with crusty bread on the side.
Homemade Hummus with Veggie Sticks
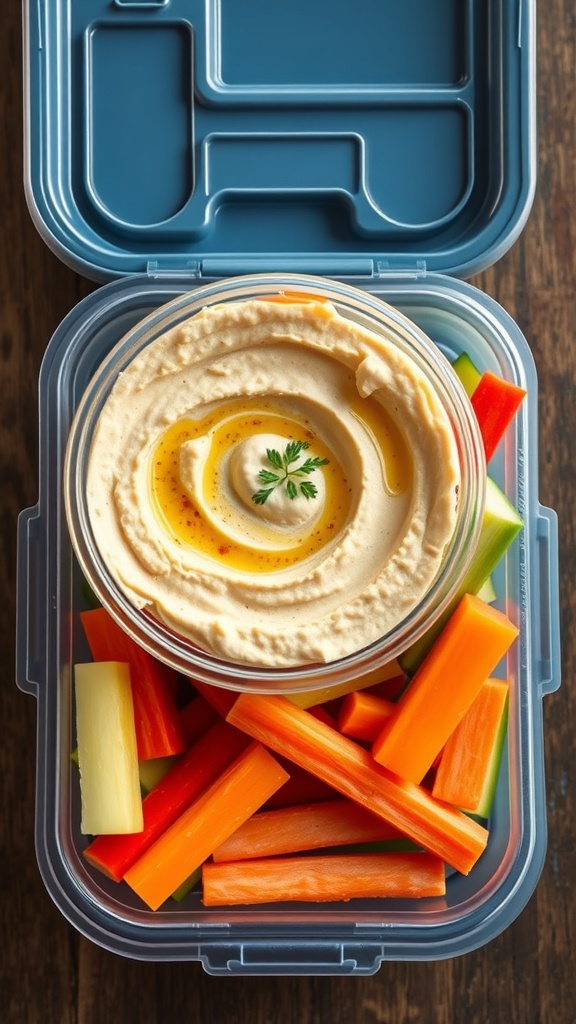
Homemade hummus is a fantastic addition to your lunchbox meal prep. It’s creamy, flavorful, and pairs perfectly with crunchy veggie sticks. The vibrant colors of the carrots, cucumbers, and bell peppers make this dish not only tasty but also visually appealing. Plus, it’s a healthy snack option that keeps you energized throughout the day.
Making hummus at home is simple and allows you to control the ingredients. You can customize it to your taste by adding spices or herbs. Serve it with a variety of fresh veggies for dipping. This combination is not only nutritious but also satisfying, making it a great choice for lunch or a snack.
Ingredients
- 1 can (15 oz) chickpeas, drained and rinsed
- 1/4 cup tahini
- 2 tablespoons olive oil
- 2 tablespoons lemon juice
- 1 garlic clove, minced
- 1/2 teaspoon ground cumin
- Salt to taste
- Water as needed
- Carrots, cut into sticks
- Cucumbers, cut into sticks
- Bell peppers, cut into sticks
Instructions
- Blend the Hummus: In a food processor, combine chickpeas, tahini, olive oil, lemon juice, garlic, cumin, and salt. Blend until smooth.
- Adjust Consistency: If the hummus is too thick, add water a tablespoon at a time until you reach your desired consistency.
- Serve: Transfer the hummus to a bowl and drizzle with olive oil. Arrange the veggie sticks around the hummus for dipping.
- Store: Keep any leftovers in an airtight container in the fridge for up to a week.
Baked Sweet Potato with Black Beans
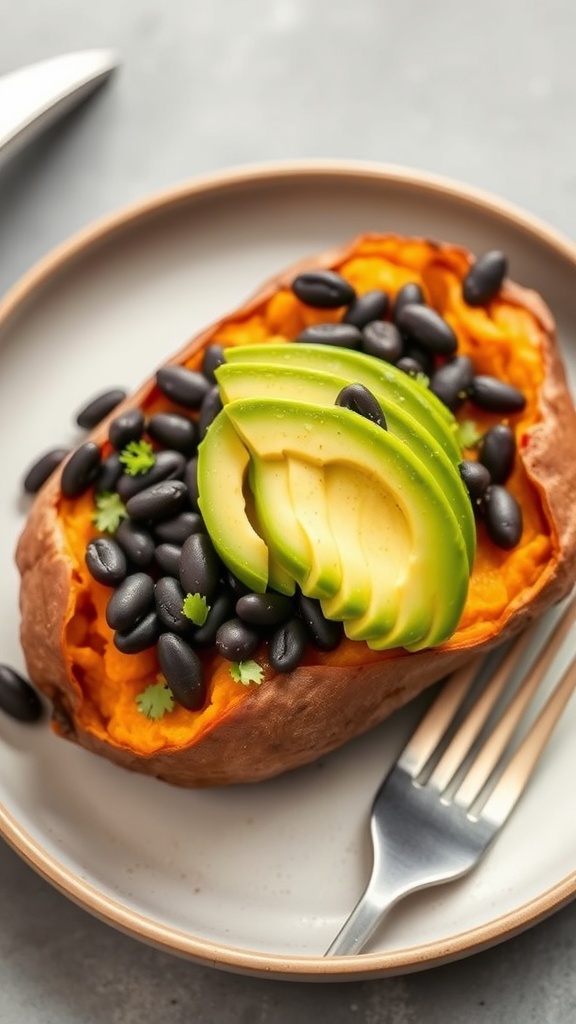
Baked sweet potatoes with black beans make a perfect budget-friendly meal. This dish is not only filling but also packed with nutrients. The sweet potato is soft and creamy, while the black beans add a hearty texture. Topping it with slices of avocado gives it a fresh twist.
To prepare this meal, start by baking your sweet potatoes until they are tender. While they bake, you can heat up canned black beans on the stove. Once the sweet potatoes are ready, slice them open and fill them with the warm black beans. Finish with avocado slices and a sprinkle of cilantro for added flavor.
This meal is great for meal prep. You can make several servings at once and store them in the fridge. Just reheat when you’re ready to eat!
Ingredients
- 4 medium sweet potatoes
- 1 can black beans, drained and rinsed
- 1 avocado, sliced
- Fresh cilantro, for garnish
- Salt and pepper, to taste
Instructions
- Preheat your oven to 400°F (200°C).
- Wash the sweet potatoes and poke holes in them with a fork.
- Bake the sweet potatoes for about 45-60 minutes, or until tender.
- While the sweet potatoes are baking, heat the black beans in a small pot over medium heat until warm.
- Once the sweet potatoes are done, remove them from the oven and let them cool slightly.
- Slice each sweet potato open and fluff the insides with a fork.
- Top with black beans, avocado slices, and garnish with cilantro.
- Season with salt and pepper to taste.
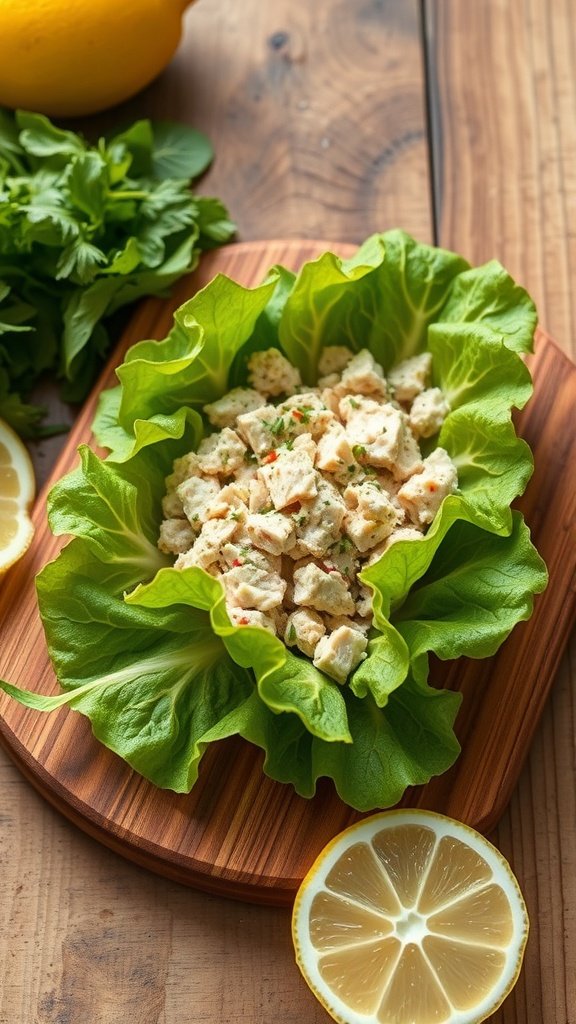
Tuna Salad with Whole Grain Crackers
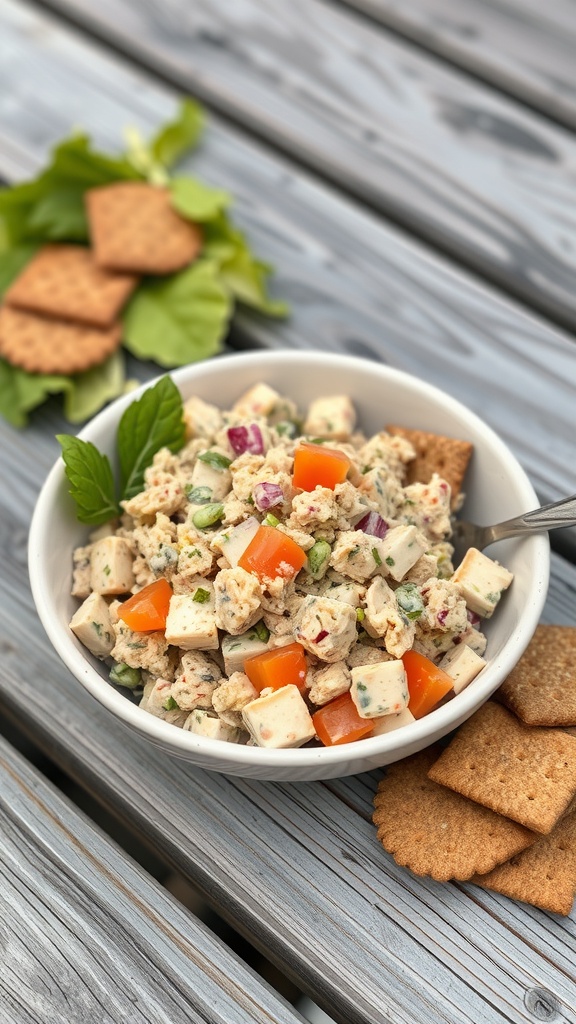
Tuna salad is a classic choice for a budget-friendly lunch. It’s easy to make, filling, and packed with protein. In the image, you can see a bowl of creamy tuna salad, mixed with colorful diced vegetables like bell peppers and onions. The salad is served alongside whole grain crackers, which add a nice crunch and make it perfect for dipping.
This meal is not only tasty but also nutritious. The whole grain crackers provide fiber, while the tuna offers healthy omega-3 fatty acids. You can enjoy this meal at home or take it on the go, making it a versatile option for your lunchbox.
To make this tuna salad, you’ll need just a few simple ingredients. It’s a great way to use pantry staples and can be customized to your liking. Let’s get into the recipe!
Ingredients
- 1 can (5 oz) tuna, drained
- 1/4 cup mayonnaise
- 1 tablespoon Dijon mustard
- 1/4 cup diced celery
- 1/4 cup diced bell pepper
- 1/4 cup diced red onion
- Salt and pepper to taste
- Whole grain crackers for serving
Instructions
- Mix the Ingredients: In a bowl, combine the drained tuna, mayonnaise, Dijon mustard, celery, bell pepper, and red onion. Stir until everything is well mixed.
- Season: Add salt and pepper to taste. Adjust the seasoning based on your preference.
- Chill: For the best flavor, cover the bowl and refrigerate the tuna salad for at least 30 minutes.
- Serve: Enjoy the tuna salad with whole grain crackers. You can also serve it on a bed of lettuce or in a sandwich if you prefer.
Greek Yogurt Parfaits
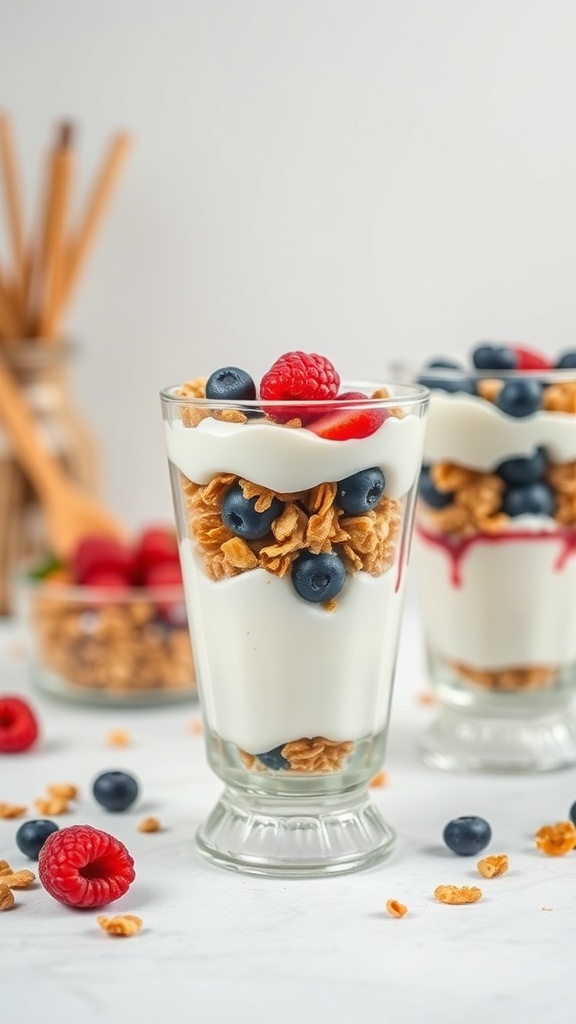
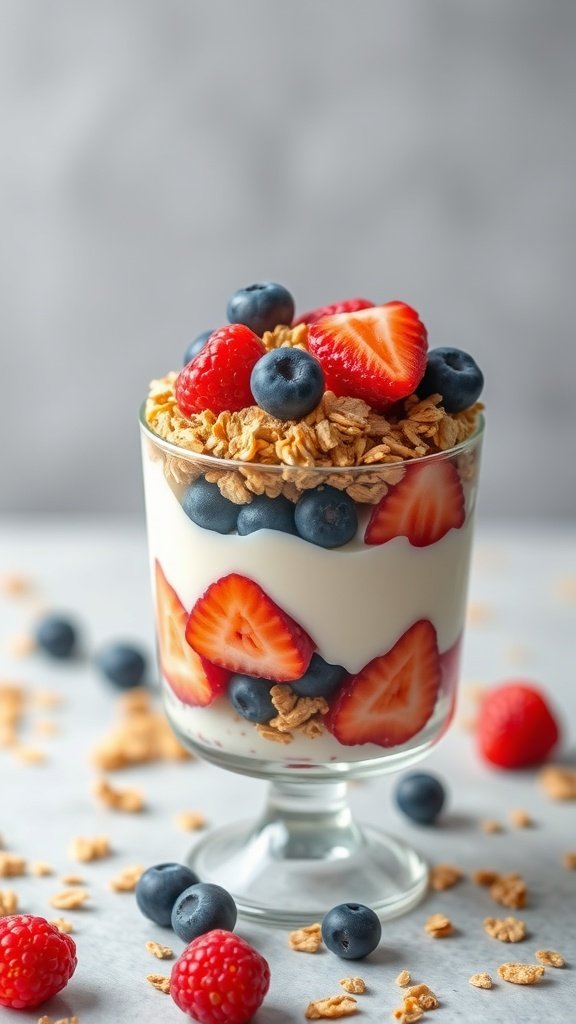
Greek yogurt parfaits are a fantastic way to kick off your meal prep for the week. They are not only tasty but also super easy to make. These parfaits are layered with creamy Greek yogurt, crunchy granola, and fresh berries. You can customize them with your favorite fruits or toppings, making them a versatile option for breakfast or a snack.
To prepare these parfaits, start by gathering your ingredients. You’ll need Greek yogurt, granola, and a mix of berries like blueberries and raspberries. You can also add honey or maple syrup for extra sweetness if you like.
Layer the ingredients in a glass or container. Start with a layer of Greek yogurt, followed by granola, and then a layer of berries. Repeat the layers until you reach the top. This not only looks beautiful but also keeps everything fresh throughout the week.
These parfaits are perfect for busy mornings. Just grab one from the fridge, and you’re good to go. Plus, they’re healthy and filling, making them a great choice for anyone looking to eat well on a budget.
Ingredients
- 2 cups Greek yogurt
- 1 cup granola
- 1 cup mixed berries (blueberries, raspberries, strawberries)
- 2 tablespoons honey or maple syrup (optional)
Instructions
- In a glass or container, add a layer of Greek yogurt.
- Sprinkle a layer of granola over the yogurt.
- Add a layer of mixed berries on top of the granola.
- Repeat the layers until the container is full.
- If desired, drizzle honey or maple syrup on top before serving.
- Cover and refrigerate for up to a week.
Stuffed Bell Peppers with Rice
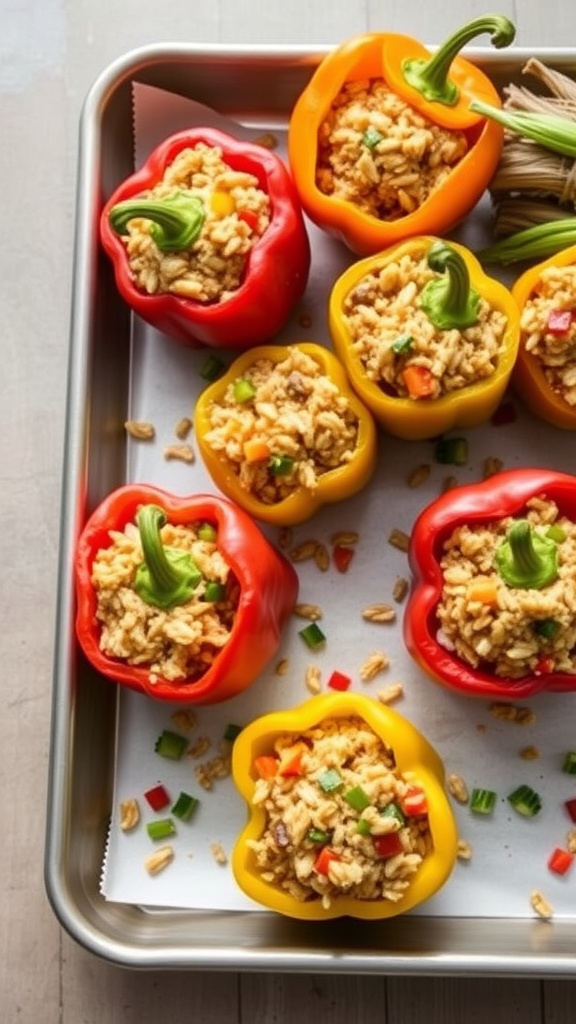
Stuffed bell peppers are a colorful and nutritious option for meal prep. They are easy to make and can be customized to fit your taste. In the image, you see vibrant red and yellow peppers filled with a savory rice mixture. The bright colors not only make the dish appealing but also add a variety of nutrients.
These peppers are perfect for a budget-friendly lunch. You can prepare a batch at the beginning of the week and enjoy them throughout. The rice filling can include vegetables, beans, or even ground meat, depending on what you have on hand.
To make stuffed bell peppers, start by cooking your rice. While that’s happening, prepare the peppers by cutting the tops off and removing the seeds. Mix the cooked rice with your choice of ingredients, then stuff the mixture into the peppers. Bake them until the peppers are tender, and you have a delicious meal ready to go!
Ingredients
- 4 large bell peppers (any color)
- 1 cup cooked rice
- 1/2 cup black beans, drained and rinsed
- 1/2 cup corn (canned or frozen)
- 1/2 cup diced tomatoes
- 1 teaspoon chili powder
- 1 teaspoon cumin
- Salt and pepper to taste
- 1 cup shredded cheese (optional)
Instructions
- Preheat your oven to 375°F (190°C).
- Cook the rice according to package instructions.
- While the rice is cooking, prepare the bell peppers by cutting off the tops and removing the seeds.
- In a bowl, mix the cooked rice, black beans, corn, diced tomatoes, chili powder, cumin, salt, and pepper.
- Stuff each bell pepper with the rice mixture and place them in a baking dish.
- If using cheese, sprinkle it on top of the stuffed peppers.
- Cover the dish with foil and bake for 30 minutes. Remove the foil and bake for an additional 10-15 minutes until the peppers are tender.
- Let them cool slightly before serving. Enjoy your budget-friendly meal prep!
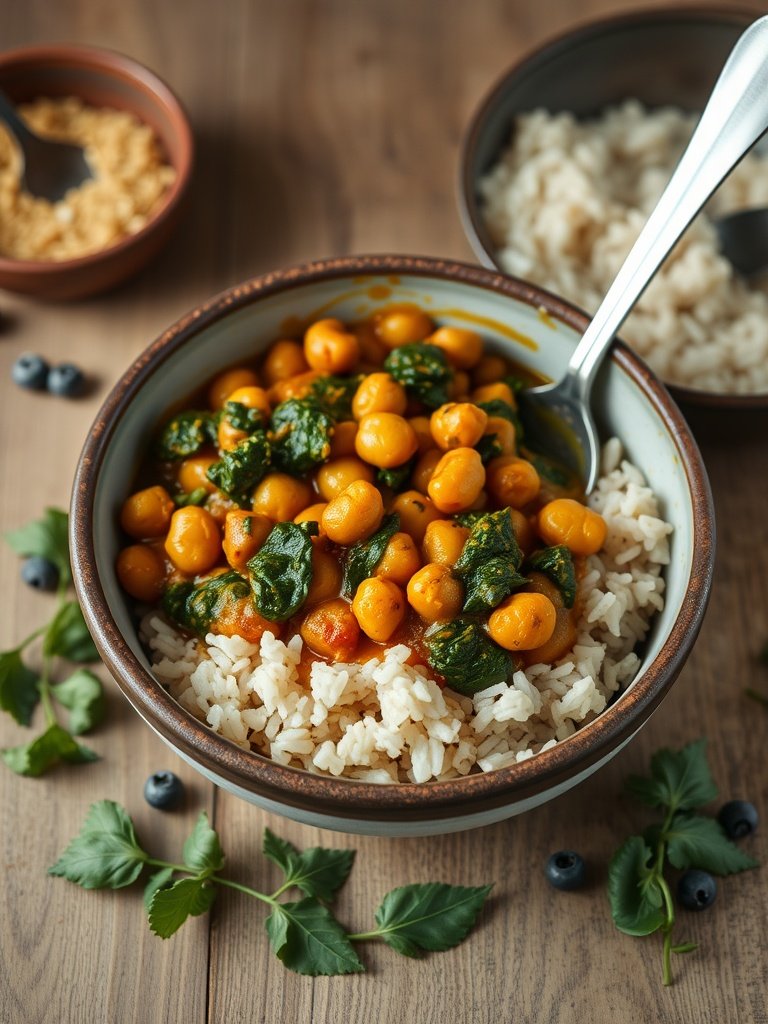
Curry Chickpeas with Rice
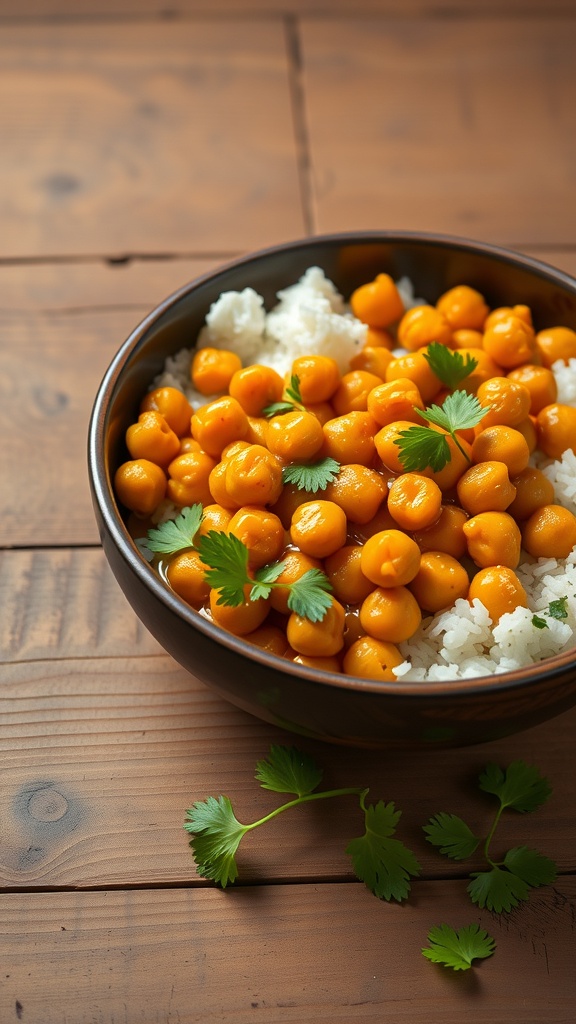
Curry chickpeas with rice is a fantastic budget-friendly meal that’s both filling and packed with flavor. This dish features tender chickpeas simmered in a rich curry sauce, served over fluffy rice. The vibrant colors of the chickpeas and the white rice create an inviting plate that’s hard to resist.
Making this dish is simple and quick, making it perfect for meal prep. You can whip up a big batch and store it in your lunchbox for the week. It’s not just economical; it’s also nutritious, providing protein and fiber from the chickpeas.
To make this meal, you’ll need a few basic ingredients that are easy to find. The curry spices give it a warm and comforting flavor, while the rice serves as a perfect base. Plus, it’s versatile! You can add veggies or adjust the spices to suit your taste.
Ingredients
- 1 can chickpeas, drained and rinsed
- 1 tablespoon olive oil
- 1 onion, chopped
- 2 cloves garlic, minced
- 1 tablespoon curry powder
- 1 teaspoon cumin
- 1 can coconut milk
- Salt and pepper to taste
- 2 cups cooked rice
- Fresh cilantro for garnish
Instructions
- Heat olive oil in a pan over medium heat. Add chopped onion and sauté until translucent.
- Add minced garlic, curry powder, and cumin. Stir for about 1 minute until fragrant.
- Stir in the chickpeas and coconut milk. Season with salt and pepper. Let it simmer for 10-15 minutes, allowing the flavors to meld.
- Serve the curry over cooked rice and garnish with fresh cilantro.
Cabbage and Sausage Skillet

This Cabbage and Sausage Skillet is a simple, hearty dish that packs a punch of flavor without breaking the bank. The vibrant colors of the cabbage, sausage, and cheese create a mouthwatering sight that makes you want to dig in right away. It’s a great option for meal prep, as it can be made in bulk and stored for the week.
The combination of tender cabbage and savory sausage is not only satisfying but also nutritious. Cabbage is low in calories and high in vitamins, while sausage adds a nice protein boost. Plus, it’s quick to whip up, making it perfect for busy weekdays.
To make this dish, you’ll need just a few ingredients. Start with fresh cabbage, your choice of sausage, and some cheese for that melty goodness. The cooking process is straightforward: sauté the sausage until browned, add the cabbage, and let everything cook down until tender. It’s that easy!
Ingredients
- 1 medium head of cabbage, chopped
- 1 pound of sausage (your choice)
- 1 cup of cheese, cubed (like cheddar or mozzarella)
- 2 carrots, sliced
- 1 tablespoon olive oil
- Salt and pepper to taste
- Fresh parsley for garnish (optional)
Instructions
- Heat olive oil in a large skillet over medium heat.
- Add the sausage and cook until browned, about 5-7 minutes.
- Stir in the sliced carrots and cook for another 2-3 minutes.
- Add the chopped cabbage, season with salt and pepper, and stir well.
- Cover the skillet and let it cook for about 10-15 minutes, stirring occasionally, until the cabbage is tender.
- Once the cabbage is cooked, add the cubed cheese and stir until melted.
- Garnish with fresh parsley if desired and serve warm.